Gadget
Gadget
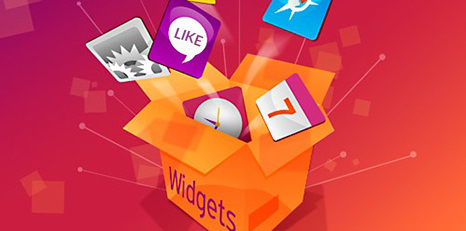
Widgets are a great way to personalize and add new features to your blog. Whether you’d like to display your visitor statistics or add a simple search tool, you can do it with widgets.
We’ve assembled a list of popular and most useful widgets used on class blogs, student blogs and personal educator blogs for your pleasure.
Many of the widgets have been embedded in this post to show how they work.
Please Note: Some of the embedded widgets aren’t designed to be viewed on mobile device. These widgets won’t load and you may see a white space in place of the widget if you are reading this post a mobile device.
Video from Youtube : https://www.youtube.com/watch?v=7kE_kyXao_o

Video from Youtube : https://www.youtube.com/watch?v=7kE_kyXao_o
Here's How
- Locate the widget you want to add to your blog and copy the widget's code to the clipboard.
- Sign into your Blogger account.
- Go to the control panel of the blog and click on the template tab.
- Click on the Add Page Element link at the top of your sidebar (menu). This will bring up a Choose New Element page.
- Locate the entry for HTML/Javascript and click on the Add To Blog button. This will bring up a new page allowing you to add some HTML or Javascript to your sidebar.
- Type in whatever title you want to give the block that will contain the widget. You can also leave the title blank.
- Paste the widget's code into the text box labeled content.
- Click the Save Changes button.
- By default, Blogger puts the new element at the top of the sidebar. If you hover the mouse over the new element, the pointer will change to four arrows pointing up, down, left and right. While the mouse pointer has those arrows, you can hold down your mouse button to drag the element up or down in the list, and then release the button to drop it there.
- Click on the View Blog button next to your tabs to go look at your newly-added widget.
cool!!
ReplyDelete